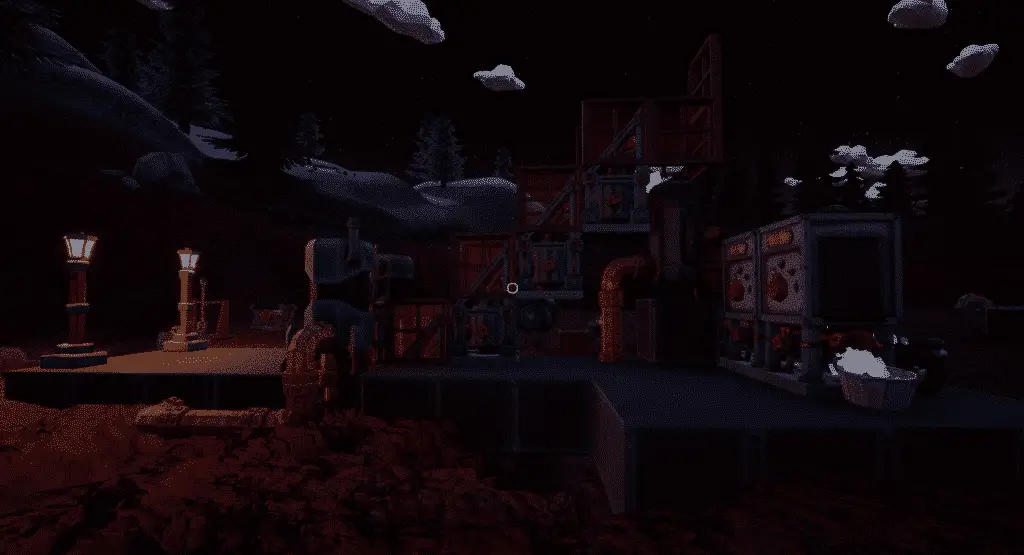
How to Make an Automation Setup – Hydroneer
In this tutorial, you will learn how to make an Automation Setup in Hydroneer.
Have you ever wanted to be rich? Have you ever wanted to start a mining company? Hydroneer is a recently released mining simulator that perfectly encapsulates the blood, sweat, and tears one must exert to truly succeed. You start Hydroneer with a shovel, pan, and brush, and by working, the player begins to rise through the ranking. To truly make money in Hydroneer, you must have fully automated your mining operation. But this begs the question; How do I make an Automation Setup in Hydroneer?
Dig for gold and other resources to turn a profit and enhance your mining operation.
Hydroneer Steam Page
This quote is found on the Hydroneer Page on Steam, and could not be more true. Like Steam described, Hydroneer is all about maximizing your profit, and there is no better way to do this than a simple Automation Setup!
Note: You will need to replace the dirt below the Goliath drills every so often, but it will be worth it!
Step 1: Placing the Initial Pipes in the Automation Setup
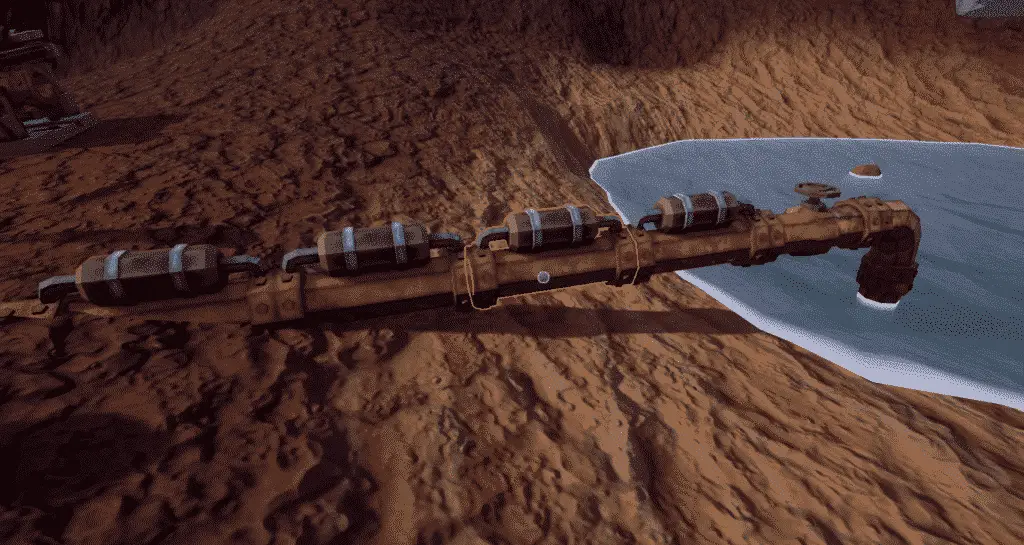
Firstly, go to your nearest water source and place a Water Intake Pipe, then place 4 Water Pipe Filters, This will reduce the damage the drills will get. Then keep placing pipes until you arrive at the location you want to create the Automation Setup
Step 2: Placing Goliath Drills and Conveyor Belts to the Automation Setup
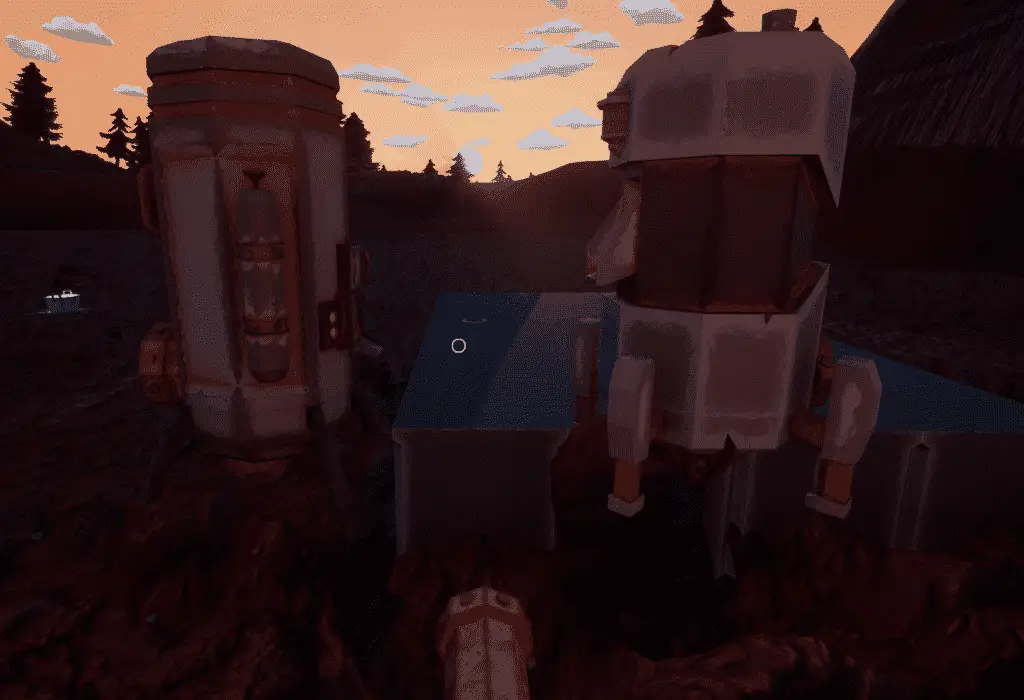
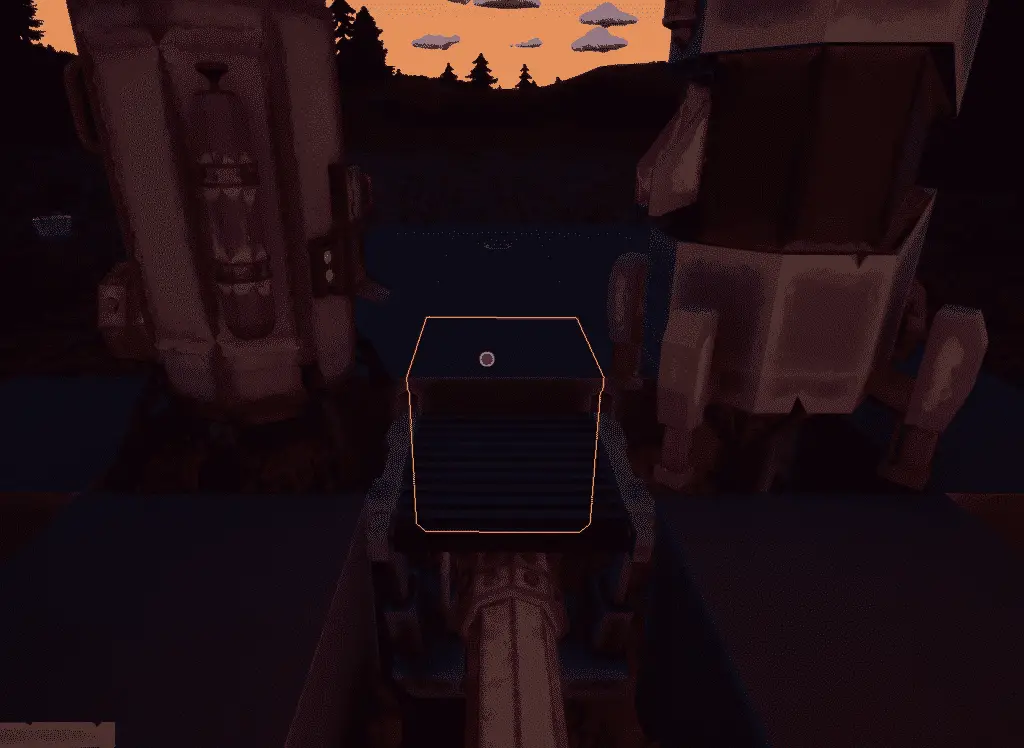
Once the first Pipes have been placed you must place 1 (or 2) Goliath drills facing each other 1 block apart. From there place 1 conveyor between the 2 drills. Make sure the convener is facing away from you. Next, you want to connect the pipes you placed in the previous step to the conveyer belt you just built.
Step 3: Adding Vertical Conveyor Belts and Placing More Pipes to the Automation Setup
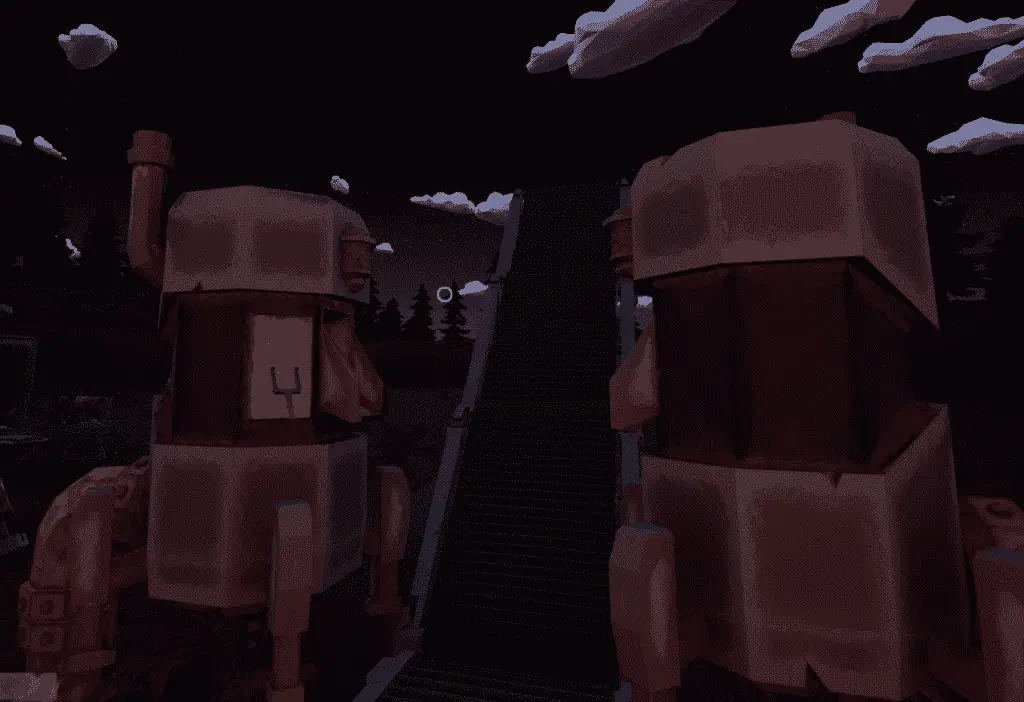
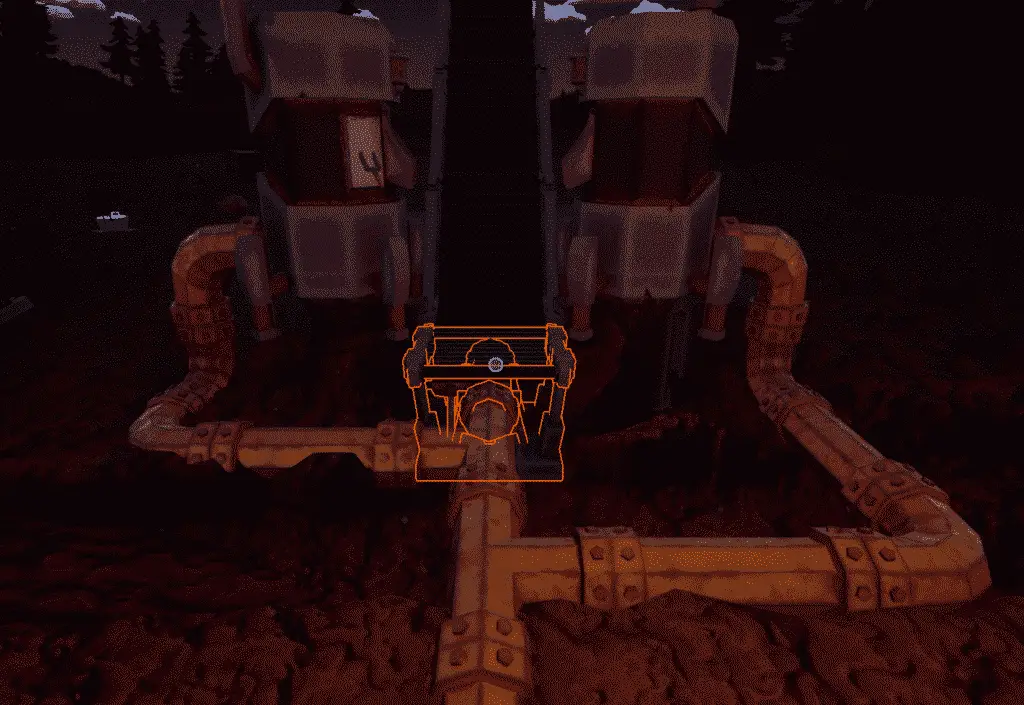
Next, you must place 3 “Vertical Conveyor Belts” behind the “Straight Conveyor belt”. Then you want to connect the pipes you have previously placed to the Goliath Drills.
Step 4: Adding the Harvester and Funnel to the Automation Setup
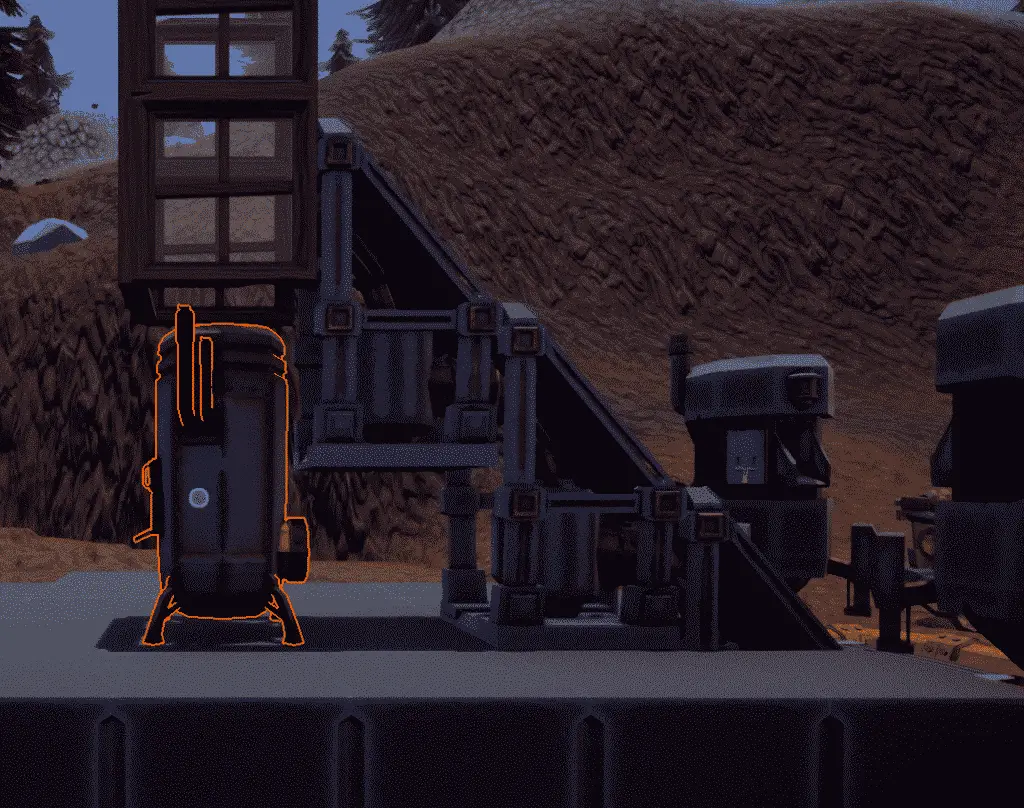
Once you have placed the “Vertical Conveyor Belts” you must place a “harvester” 2 blocks below the last conveyor belt as seen in the photo. I recommend you place glass above the harvester this will work like a funnel.
Note: If you want you can buy a funnel, though it is more expensive than glass.
Step 5: Adding a Conveyor Belt and Glass to the Automation Setup
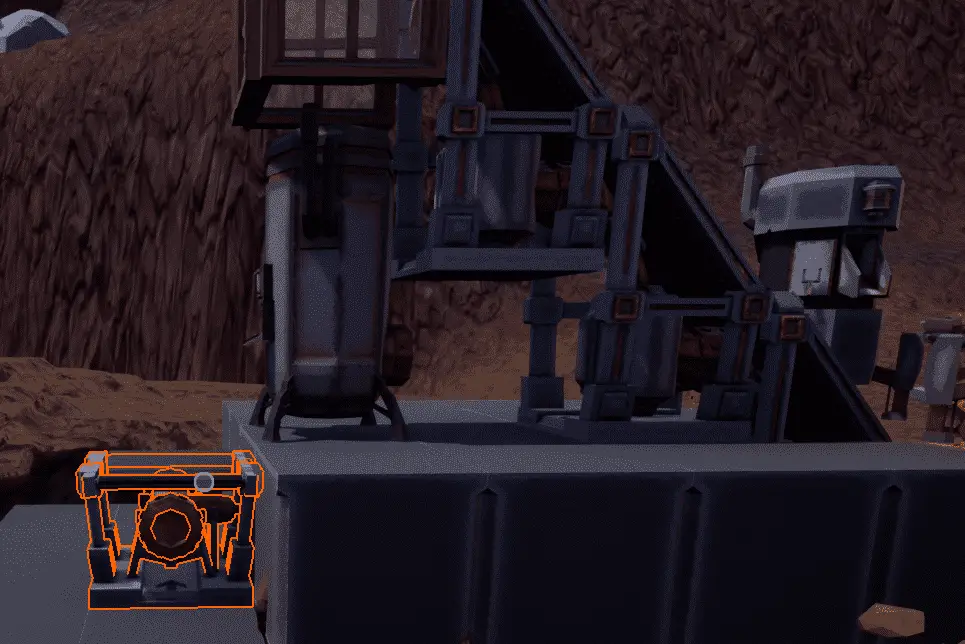
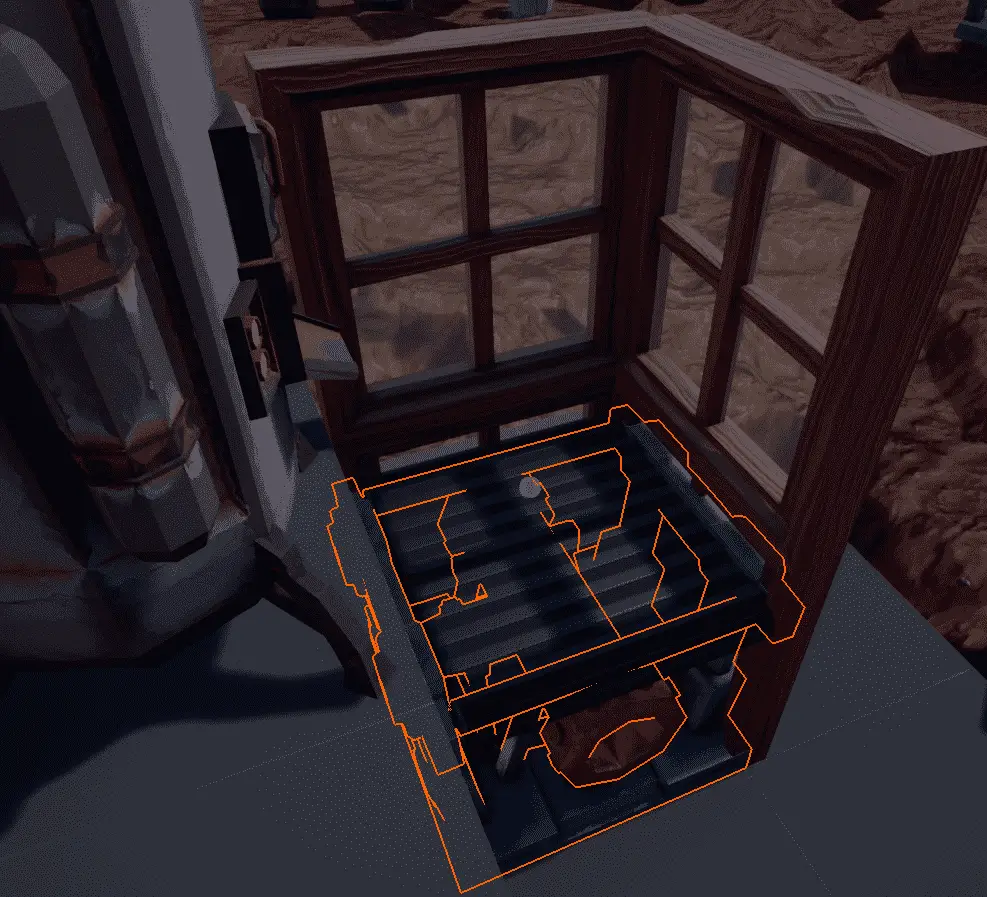
Next, you want to place a “straight conveyor belt” 1 block below the output of the “harvester”. Once again, you will want to place glass around the straight conveyor belt that was just placed. The glass will work as a blocker to make sure the ores and gems don’t get overshot and miss the conveyor.
Step 6: Adding Splitters and Setting the Dial in the Automation Setup
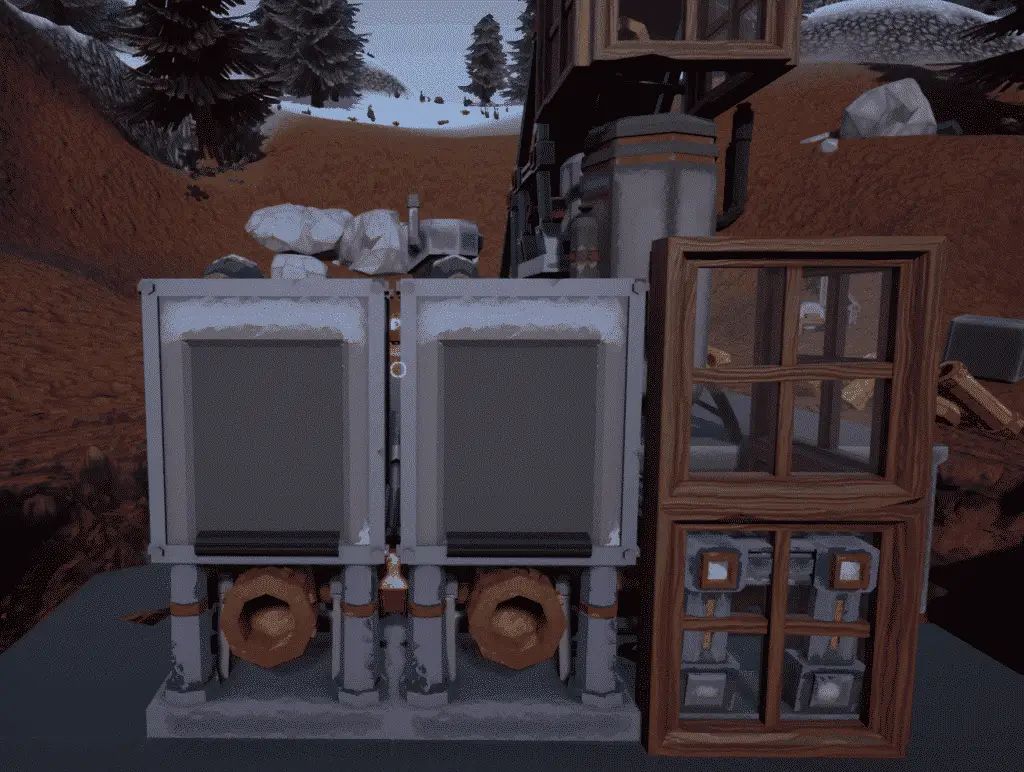
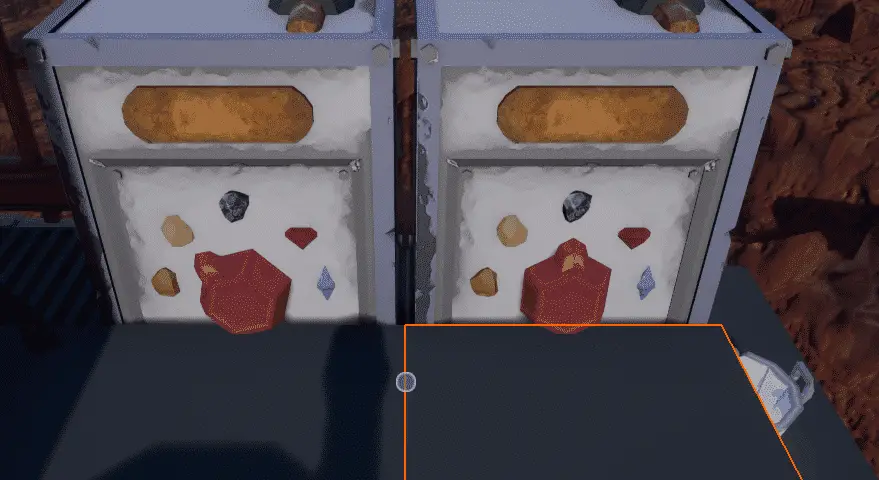
Place 2 “splitters“, with the dial facing the Goliath drills. You can choose which ores are separated with the dial.
Step 6: Extending the Pipes from the Goliath Drill
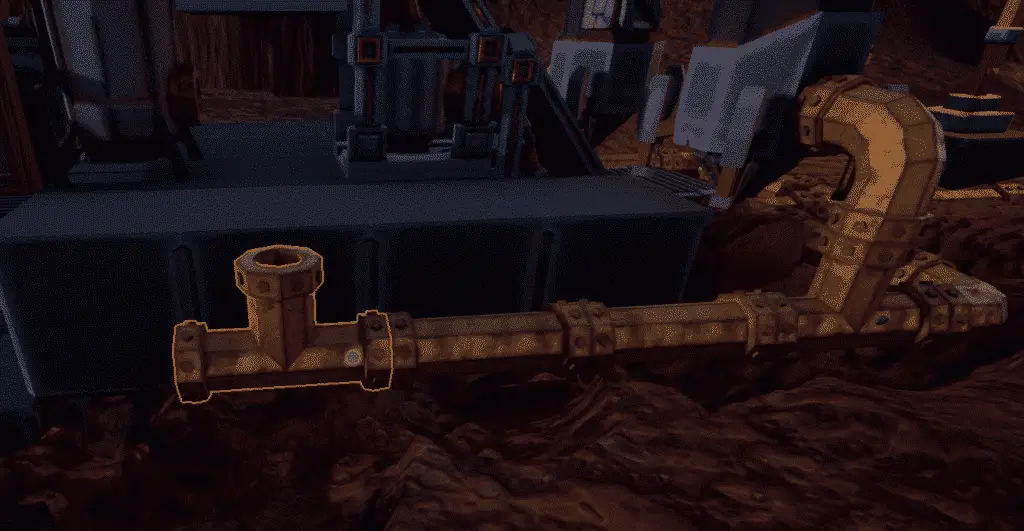
Now go back to the left Goliath drill and add pipes placed like shown above. Don’t forget to add a “T-Pipe” at the end of the pipes.
Step 7: Extending Pipes to reach the Harvester and Conveyor
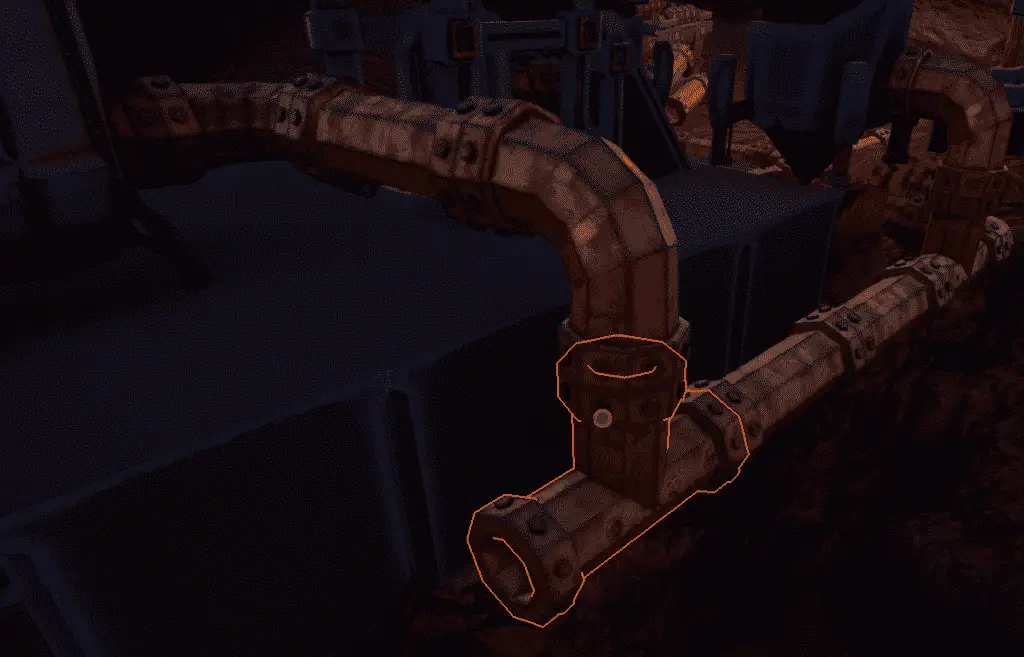
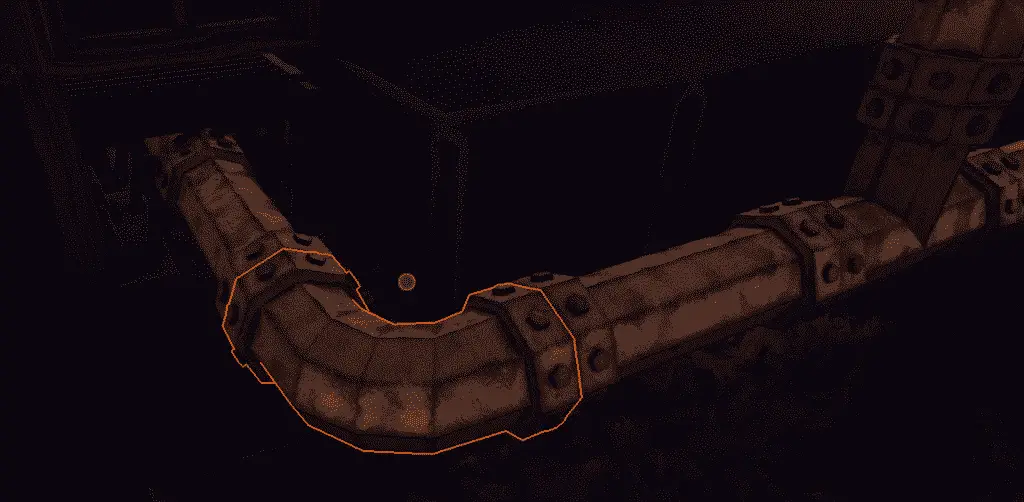
Next, connect the top joint of the “T-Pipe” to the “Harvester” and connect the other joint to the conveyor belt.
Step 8: Place Glass adjacent
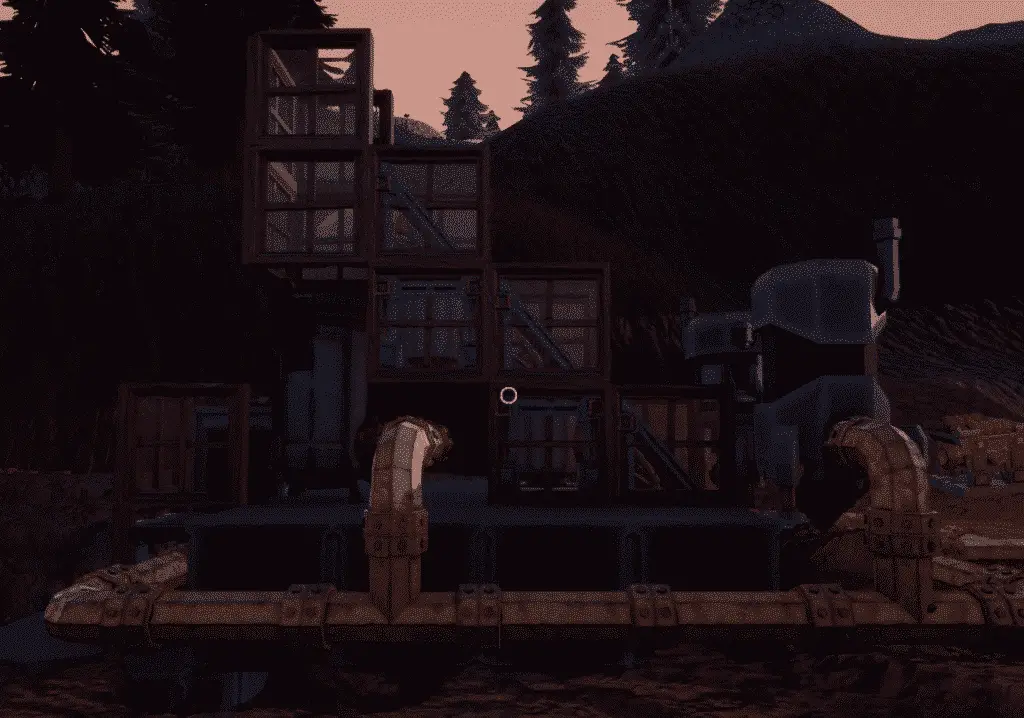
Now add Glass adjacent to each “Vertical Conveyor Belt”, this will block any pieces of dirt that will fall.
Finished – How to Make an Automation Setup in Hydroneer
Congratulations, you just learned How to Make an Automation Setup in Hydroneer, keep in mind you can add more Goliath drills to maximize profit.