This page contains information on making a custom Minecraft Bedrock skin.
Minecraft is a famous game, and one of the reasons why it is popular is that players can customize their experience. This means that players are able to create custom skins and resource packs that replace all the game’s textures and sounds.
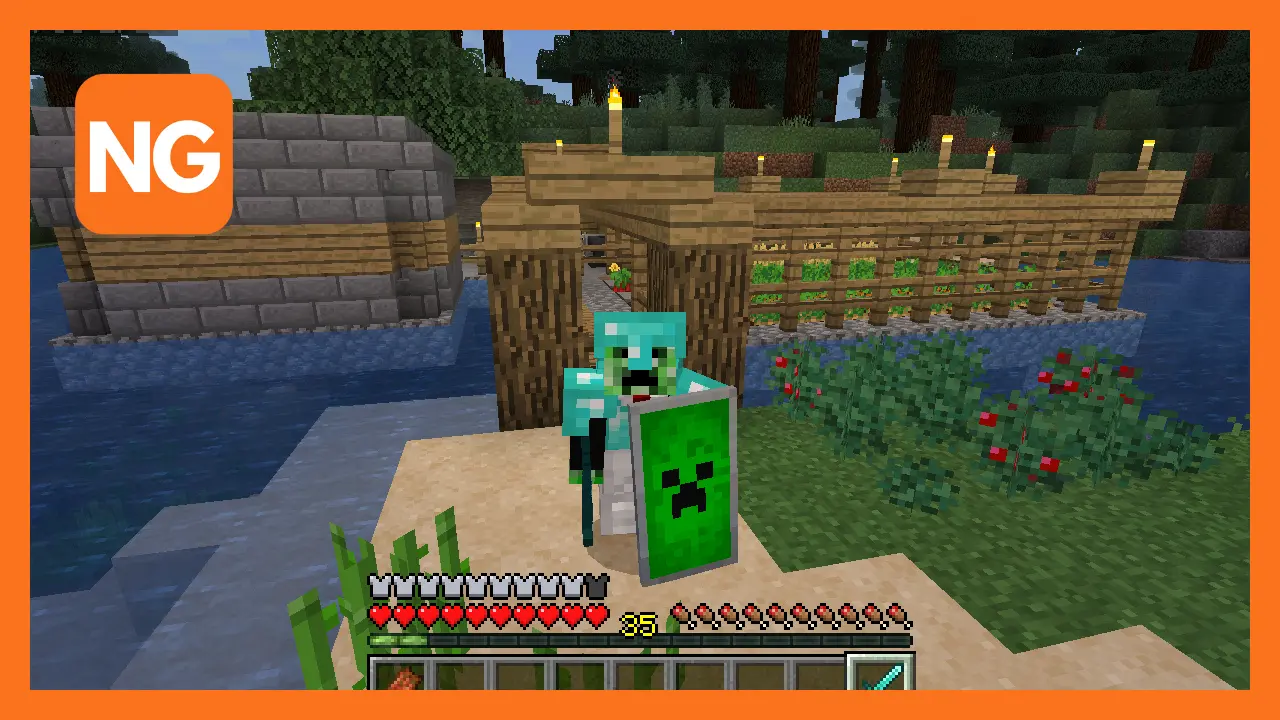
However, Java Edition has the best types of customization. Despite Java having better customization skills, Minecraft Bedrock Edition is also customizable. Still, players can only set custom skins using images found on mobile devices or the PC version of Bedrock Edition.
How to Import and Use Custom Skins in Minecraft Bedrock Edition
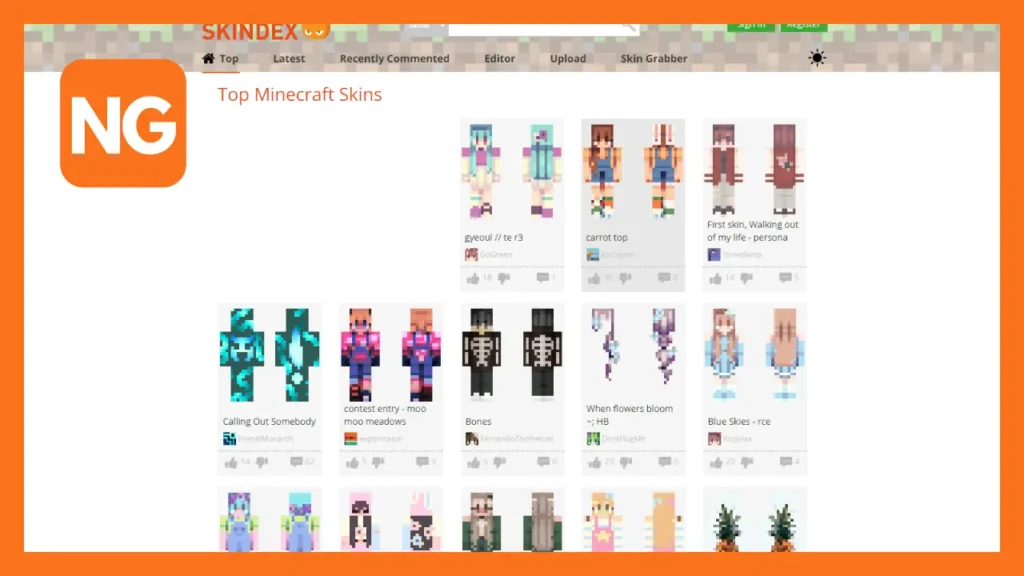
The first step is for players to head to any of the popular skins found on the skin has ring websites. An example of a skin-sharing website is Skindex. On this website, you should be able to find a skin you would like to use and download it. Alternatively, players can create their own one from scratch.
After obtaining their skin of choice, players should launch the game and head to the dressing room because it is the menu they will use to customize the skin.
In the dressing room, players can access five character slots. There are options for editing existing skin or deleting and making a new selection.
Related: The 10 Best Minecraft Factions Servers, Ranked
The next step is to create a character. Therefore players press the Create a Character button a skin a lot which is empty. Then tap on the classic skin, which is the second option. Afterward, they should press the Create a Character button again.
Additionally, players can prefer to use used skins near the middle of the screen. An Owned Skins section should be visible to players. After hitting the option, which is a blank skin, they should be able to see the Choose new skin option on the right side of the skin. The option will open up a file navigator for an image.
The file navigator is used to select the custom-related or downloadable skin. When the file is successfully downloaded, they will be prompted to choose a type of skin, either wide or narrow fit. After selecting the skin they want, the previously blank skin should be updated to the new custom skin.
After the skin has been successfully equipped, players can head out of the dressing room menu and back to the home screen. They are now able to enjoy the game with their custom skin equipped.
Also: The Best Minecraft Alt Shops, Ranked
How to Customize a Pre-Existing Skin
Similar to the previous process, players should head to the dressing room and select a slot. When they find an empty slot, they should hit the Create a Character button to enable them to create a character or use a classic skin. If players choose to use classic skin, players will use custom imported or marketplace skin.
The next step is to customize the skin after pressing the Create a Character button. They should be able to head to every option and ensure it is their preference. After customizing the skin, they can head back out of the menu, and the changes will be saved automatically.